![]()
![]()
![]()
![]()
![]()
![]()
![]()
![]()
![]()
![]()
![]()
![]()
Until recently, "home photography" meant a darkroom filled with trays of chemicals, each process from developing the film to exposing and developing the actual photo requiring precise timing and temperature control. You would have to first mix your chemicals precisely, making sure they are at the proper temperature so that the chemical processes can proceed in a controlled manner. Then, in total darkness, you wind your film onto a metal reel by feel alone, hoping that you threaded the film correctly, or else some spots of the film would be undeveloped. Then pour the developer into the tank, rotate the tank to agitate the chemicals, for a few minutes. Next, pour the stop chemicals into the tank to neutralize the developer. After rinsing the film, pour in the fixer, then you could finally look at the film to see how you had done. After washing the film and allowing it to hang and dry, you could start the process of actually making your prints.
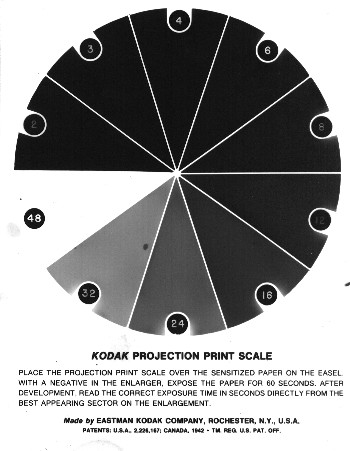
To print, you could select from a number of papers, glossy, matte, sepia tone and sometimes make a contact print to see what negatives you wanted to make prints from. Or you could load the negatives directly into your enlarger. You would first make a test print using a projection print scale to gauge how long you would expose the paper. (at least you're allowed to have a very dim safe light when doing prints). You then do the exposure, if you wanted to do a fringe around your subject, you could cut a hole in a piece of paper and rotate it in the enlarger light beam. Then the exposed paper would go through a series of trays with chemicals, much like the film development process, a developer, stop bath, and fixer. Then the finished print could be washed and dried.
And that was only for a black & white photo, color was considered far to complicated for successful home use, unless you wanted only slides, the processing temperatures were far more critical for color development, and only one type of film was even deemed possible for home darkrooms.
The recent availability of affordable digital cameras, image scanners, and photographic quality printers make your computer system a 'virtual darkroom'. Imaging software included with almost every I/O device allows pictures to be edited in ways never before possible. Even the dreaded "red eye" can be removed with a mouse click. The newer ink jet type printers use more colors and smaller ink drops to increase the range of printable colors possible to a point where it is difficult to distinguish at first glance a real photograph from a computer printout.
I'll start this primer by discussing the various ways of getting a photograph into the computer, pointing out the advantages and disadvantages of each method. Then we'll take a look at how image processing software can turn "mistakes" into scrapbook highlights.
For this discussion, I'll define "digital" photography to be images that are stored and processed at some point in a computer. There are many ways to get your images into the computer, which will be discussed later. Whether or not you wish to actually print your images, or just view them on a monitor, is another story.
This page last updated 01/09/01